This article is an introduction to the NodeJS runtime. In it, we will look at some basic concepts regarding the runtime, such as: JavaScritp callbacks and Asynchronous Programming. It will also briefly mention JavaScript Modules and some others. These things should teach you how a node web server works at a core level.
Before starting to look at the NodeJS runtime, we need to clarify two concepts first, namely callbacks and asynchronous programming using JavaScript.
Callback functions
Callbacks or callback functions are as their name implies, functions that execute after some other code (they are 'called back'). To be more precise, a callback function is passed as an argument to another function which calls it at a given time. They are also called 'call after' functions (because they usually run after some other function executed and 'calls them back').
Let's see a little example of a callback function:
//define callback
const callBack = () => {
  console.log("callback called...");
};

//define main function
const mainFunction = (callBack) => {
  console.log("main function called...");
  //calling callback
  callBack();
};

//call main function which calls the callback
mainFunction(callBack);
* copy the above code and paste it in the Chrome developer console, hit enter to run it, and you will see what I mean. However, a more realistic example would be to use setTimeout(), a function that takes a callback by itself and waits some time before executing it. Check the below code:
In the example above, we cannot see the data being displayed fetchDataFromDB takes 2 seconds to return the data, while the display function, runs instantly. Therefore, 'undefined' gets printed on the page instead of the data.
A quick fix for this would be to change the fetchDataFromDB method, so that it takes in a callback function as an argument as well:
//fetch data
const fetchDataFromDB = (cb) => {
  let data;
  setTimeout(() => {
    data = "some data here...";
    cb(data);
  }, 2000);
};

//displayData
const displayData = (data) => {
  const output = `
          <h1>
            ${data}
          </h1>
          `;
  document.querySelector("html").innerHTML = data;
};

//takes 2 sec
const data = fetchDataFromDB(displayData);
Now the data is displayed on the screen, as the callback function is executed right after the 2 seconds needed for fetchDataFromDB to actually get the data. This is a use case you will encounter lots in real life because querying an actual DB or API for data, takes time.
Asynchronous programming
This is a really nice concept, which involves the processing of tasks in parallel. In a synchronous script, all lines of code are executed one after the other, so if a function needs a few seconds to execute, all the code that comes after it, has to wait for the seconds to finish. On the contrary, in an asynchronous script, we make use of cool features such as callback functions and all lines can start executing at the same time. The few seconds will still be needed, but the rest of the code can still run in the meantime. Think about this, if your favourite web app would freeze while fetching for your profile's data. Would you like that?
NodeJS
Now we finally will have a look at the NodeJS runtime.
The fancy 'runtime' basically refers to is the fact that you can run JavaScript code on the server, outside of the browser. This is super awesome because you can now write a full-stack application with a single language.
Installing NodeJS
The best way to install NodeJS is to use nvm (node version manager).
For a Linux distribution, a simple cUrl command will get it installed. Run the below in a terminal:
For windows users, the nvm should also be available through the WSL (Windows Subsystem for Linux).
If you can't use that (I think WSL is available starting with windows 10), there are a few alternatives such as this link. In There you can find a binary installer for windows.
Once nvm has been installed, you can check it by running:
command -v nvm
This will output 'nvm' and will confirm that you have it installed.
Once that's done, you can install nodeJS by running:
nvm i 18.12.0
This will install NodeJS version 18.12.0, which currently is the latest long term and stable release.
You may as well use the binary from the NodeJS website: Download from NodeJS website for both Linux/Windows (macOS too). This is not optimal, as while working on various projects you will need an easy way to switch between node versions and nvm gives you just that.
A NodeJS server
Now you should be ready to write your first NodeJS script. Let's build a little server together.
The first thing we do is initialize an npm script. In case you don't know, npm stands for 'Node Package Manager' and it comes with the NodeJS installation. Just as its name implies, it manages packages and dependencies for us. You will love to work with it and with other package managers such as yarn.
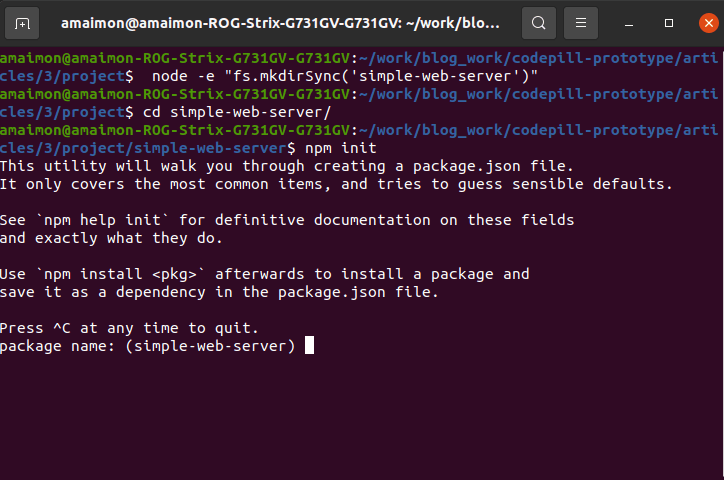
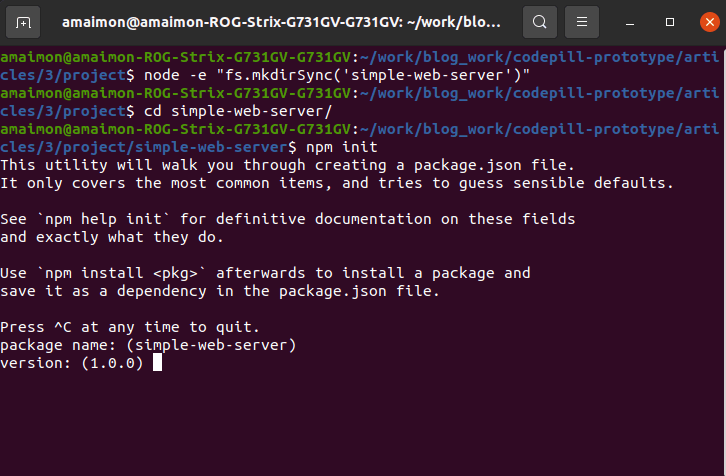
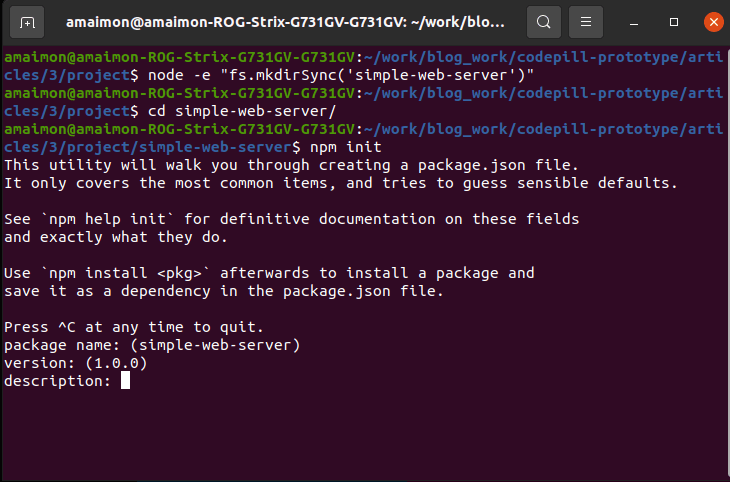
Start by creating a directory called 'simple-web-server'. Let's use NodeJS for this and run the below command in a terminal window:
node -e "fs.mkdirSync('simple-web-server')"
The -e flag is used for cross-platform/administrative commands such as the one to create a folder.
Next run:
cd simple-web-server
Now, while inside 'simple-web-server' run:
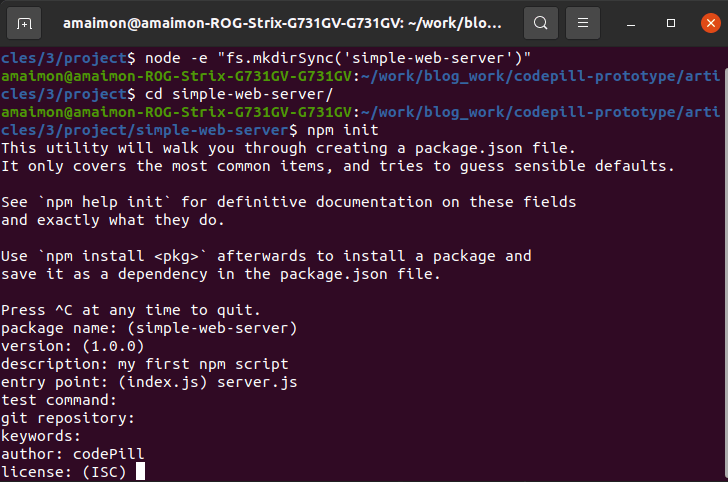
npm init
This command will walk you through the basic steps of configuring your npm script:
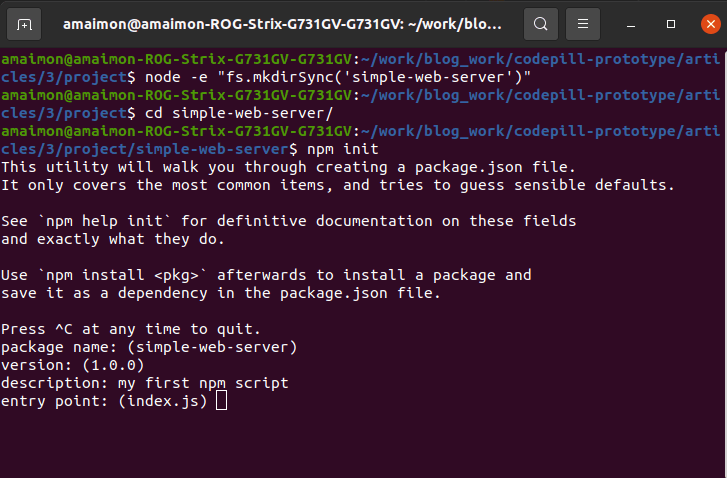
Hit enter (to leave the directory name as project name or change it by entering something different and then hit enter):
Next, enter the project version and hit enter (likewise, hit enter directly to leave the default 1.0.0):
Next, enter a description and hit enter:
Now it will ask you to choose the entry point for our application. This will be the main script that will run the app. It will call all the other scripts in the application, hence the name entry point for it. I'll enter server.js here as this is what I want my main script to be called.
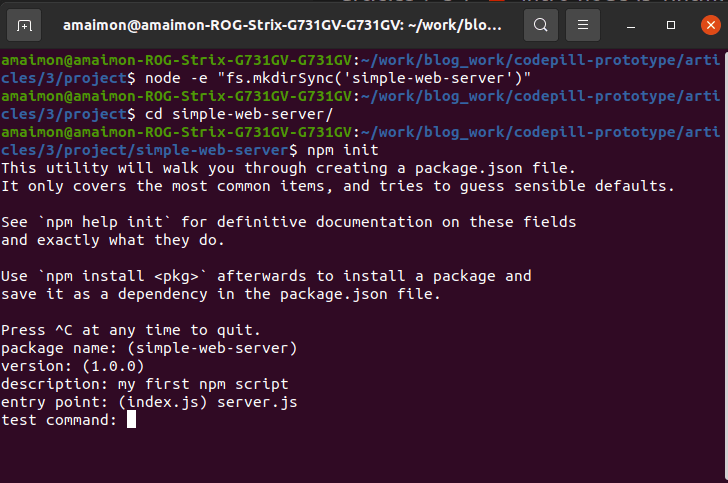
It will next ask for a test command, a git repository and some keywords, just hit enter twice and leave these blank:
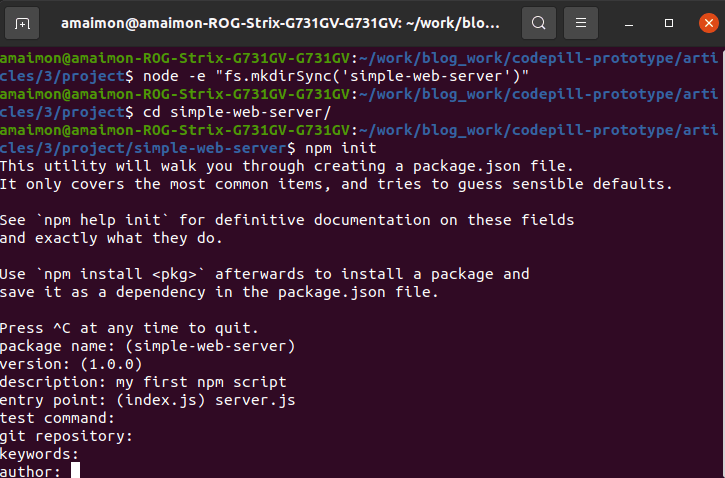
Now it will ask you for an author's name. Just put your name there and hit enter:
Now, it will ask you for a licente (I'll just put MIT here):
Finally, it will ask you to check once more for all the input details, confirm that they are good and hit enter:
Now, npm has created a package.json file inside of your directory. If you look at it a bit, it looks like this:
 {
    "name": "simple-web-server",
    "version": "1.0.0",
    "description": "my first npm script",
    "main": "server.js",
    "scripts": {
      "test": "echo \"Error: no test specified\" && exit 1",
      "start": "node server"
    },
    "author": "codePill",
    "license": "MIT"
  }
It has our name, version, description, entry point set up, author and license. Other than that it also has a scripts object, in which we have only a test script registered. Let's add one more. Modify the scripts object as per below:
"scripts": {
          "test": "echo \"Error: no test specified\" && exit 1",
          "start": "node server"
        }
This start script will execute when we run the npm start command and will run the server.js file which we have to create. Note that we can create more scripts and add them to the scripts object, however we will not run them by running: npm scriptName. With the exception of the start and test scripts, which we run with npm start or npm test, the rest of the scripts will be ran with npm run scriptName. So if I have a 'test2' script, I will run it with: npm run test2.
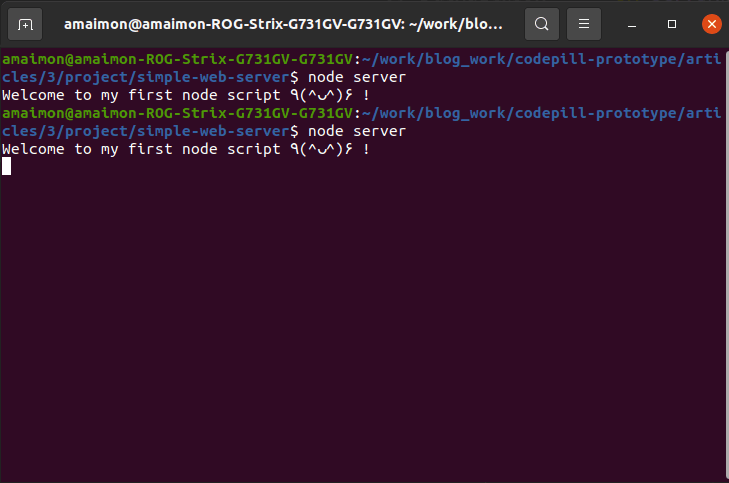
But enough with this, let's just start this app. Create a server.js file in the project directory and add the below code to it:
console.log("Welcome to my first node script ٩(^ᴗ^)۶ !");
Now we can add the actual server code, so we have kind of a real web application. Add the below code to server.js
//import http module for our server
const http = require("http");

const PORT = process.env.port || 5000;

const server = http.createServer((req, res) => {
  const url = req.url;
  const method = req.method;

  //set content type Header
  res.setHeader("Content-Type", "text/html");

  if (method === "GET") {
    if (url === "/") {
      res.write(`
        <h1>
          Welcome to my nodeJS server!
        </h1>
        <p>
          Stay Tuned, for we will build
          much cooler stuff in time
        </p>
        `);
      res.end();
    } else {
      res.end(`
        <h1>404 Page Not Found X_x</h1>
        `);
    }
  } else {
    res.write(`
     <h1>
        405 Method not allowed T__T
     </h1>
      `);
    res.end();
  }
});

//start the server
server.listen(PORT);
In the code above, we use the http node module to create a server. A module allows us to use some funcitonality stored somewhere else (in some code that we do not own).
So we import this module, we also define a PORT onto which our server will listen for requests. Then we create a server using the createServer() method (I like the original name for that 🤣).
The createServer() method takes in a callback function (remember these?). The callback function will be executed for every incoming request and it receives by default 2 arguments: the request object and the response object (which I named 'req' and 'res').
In the callback function we read the req.url and req.method properties.
We basically check if our http method is GET and if the url is "/" *note that req.url gives only the part that comes after the protocol and the hostname (we call that the 'relative' path). If these 2 conditions are met, we return a welcome page. Else, we return a 404 custom page.
*note that we also set the Content-Type of the response to text/html as we want our server in this case to only return html. There are multiple 'types' of content, and you will learn little by little about them.
Furthermore, if the req.method is anything else other than GET (for instance POST), we return a custom 405 page. 405 is the http status code for 'method not allowed'.
Finally we listen() for requests on the port we defined as 5000.
Let's now test the code a bit so in the same terminal window you used to run the script frist time, run again: npm start. You will notice that unlike the first time, the script will not exit anymore, the cursor in the terminal window keeps blinking and you cannot execute any more commands in the window:
*this happens because the server process keeps running, and it constantly runs and listens to requests. Now let's make some requests so see how it works. Open a new tab and go to http://localhost:5000. You will see our welcome page. Also, if you try to go to any other endpoint such as http://localhost:5000/test you will get the 404 page.
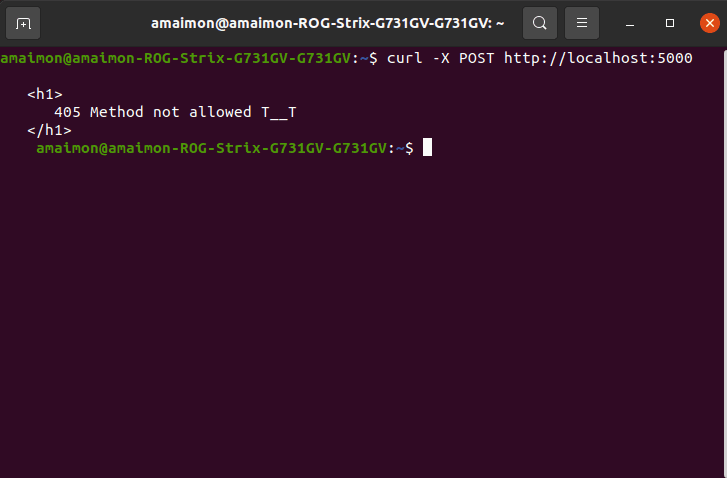
Furthermore, you can now try hitting this server with other type of requests such as a POST request. If you do that, it will return the 'Method not allowed' that we set up in the code. You can try that out by opening a new terminal window and running the below:
curl -X POST http://localhost:5000
If you do that, you will get this:
We have implemented a basic web server using NodeJS. Now you know some things about working with this awesome runtime, and you will be able to build increasingly more powerful applications. In the next post, we will play a bit more with NodeJS and build some mini-projects.