An API Application Programming Interface is a critical component for both front-end and back-end developers as all of them consume data from these APIs in their apps. In this post we will too build a very basic NodeJS API that will allow us to perform CRUD Create Read Update Delete operations on our resources.
Finally, create a server.js file and paste the below code into it:
const http = require("http");

const PORT = process.env.port || 5000;

const server = http.createServer((req, res) => {
  if (req.url === "/") {
    res.end("Hello there =)!");
  } else {
    res.end("404 bad request X_X");
  }
});
server.listen(PORT);
console.log(`SERVER listening on port: ${PORT}`);
Now, if you run npm run dev, you will have your API started and running. If you go to http://localhost:5000/ you will see our response. Same if you go to any other endpoint, as we set a 404-ish route. I call it '404-ish' because it is not REST-ful compliant.
REST stands for representational state transfer and it is an architectural style, allowing you to structure your application in a certain way, based on certain conventions. You can read more about this on this Link.
A basic thing that a REST-ful service does is to set up proper http status codes. These are codes that tell you if a request has completed successfully. You can read more about them on this Link.
If you look at our '404-ish' routes, you will see that they all give back a 200 http status code, although they should give back a 404.
Let's set the status codes properly for the 404 route. Add the below line above the res.end() line in the else{}:
res.statusCode = 404;
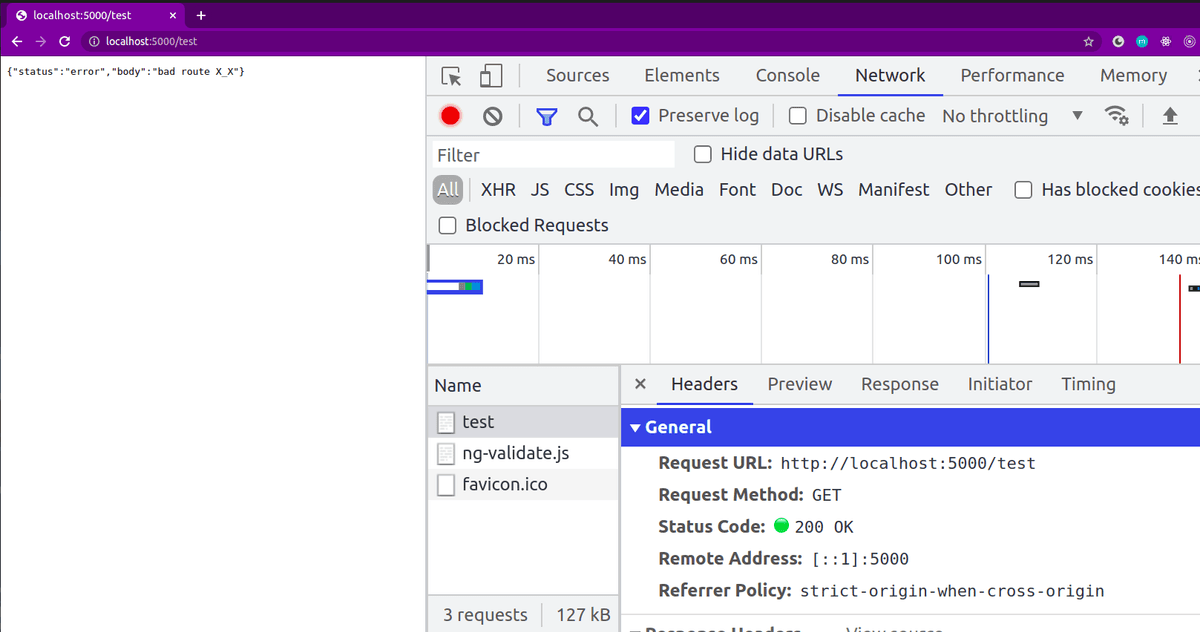
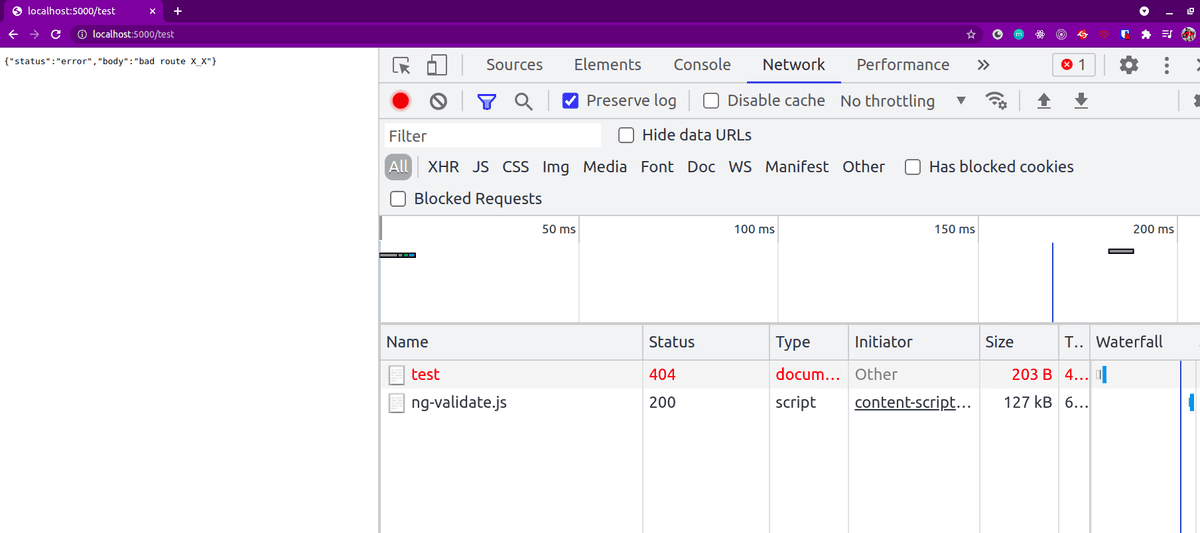
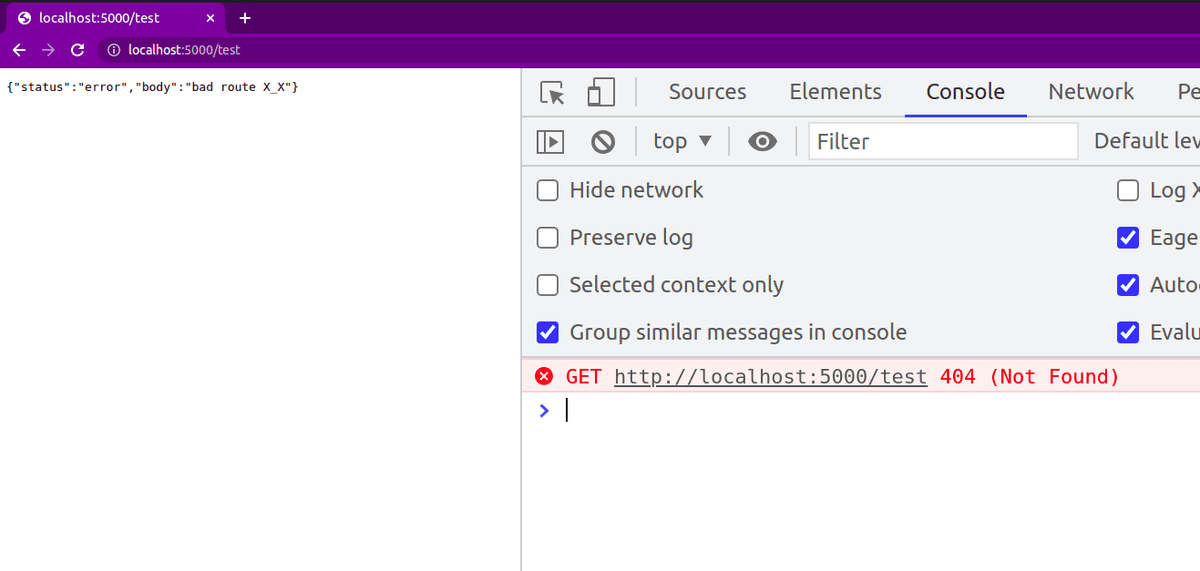
Now, if you go to a random route such as /test you get the 404 status code:
*Note that since this is a GET request, the browser console also throws a 'NOT FOUND' error:
*Also note that the default statusCode property is set to 200. That's why we got a 200 code by default for our '404-ish' route too.
We now have a REST-fulGET request implemented successfully. I want our little service to be a bit more complex than that though. I want it to have proper routes, set up in a separate file and some validation/security. It will not be a 'bullet-proof' service, but it should teach you some good practices for designing any service (with or without a framework).
For starters, let's create a router.js file and paste the below inside:
const router = {
  routeMethod(req, res) {
    const method = req.method;
    const url = req.url;
    switch (method) {
      case "GET":
        this.routeUrl(url, req, res);
        break;
      default:
        res.statusCode = 405;
        return res.end("405 METHOD NOT ALLOWED");
    }
  },

  routeUrl(url, req, res) {
    switch (url) {
      case "/":
        if (req.method === "GET") {
          return res.end("Hello there =)!");
        } else {
          res.statusCode = 405;
          return res.end("METHOD NOT ALLOWED");
        }
      default:
        if (req.method === "GET") {
          res.statusCode = 404;
          return res.end("Page Not Found X_X");
        } else {
          res.statusCode = 405;
          return res.end("METHOD NOT ALLOWED");
        }
    }
  },
};

module.exports = router;
Let's now use the router in the server.js. Replace the server file contents with the below:
const http = require("http");
const router = require("./router");

const PORT = process.env.port || 5000;

const server = http.createServer((req, res) => {
  router.routeMethod(req, res);
});
server.listen(PORT);
console.log(`SERVER listening on port: ${PORT}`);
The router.js file will perform the routing for our API and respond with the appropriate statusCode and messages for our little service. We want to have full control over which methods we allow and to which URLs we allow a request. The default response is a no no for URLs that we did not specify or REST methods that we did not allow specifically. So if you try a command such as the below from a terminal window:
curl -X POST http://localhost:5000
We get the 405 response. Currently our REST-ful service allows only GET requests (the server response for any other type of request is a 'Method not allowed' status and we only send back a different response other than the 404-ish one for the / route).
I don't really like the way we check for req.method === 'GET' in the routeUrl() method in the router.js file. Let's create a requestHelper file and paste the below code to it:
Now, you can replace the req.method === 'GET' bits of logic there (there's 2 of them so far) with: validateMethod(req, "GET").
Now everything works just as before, but we have outsourced a bit of logic to a dedicated module. This is a very good practice and I encourage you to always 'break logic up' into meaningful modules.
Let's create a db.json file and paste the below inside:
This file will work as our database. We will read from it and write to it through our service. In a real application, this is how you would communicate with an actual database so this is good practice.
Let's now set up the resources/ endpoint in the router.js. We will first open the endpoint only for a GET request, enabling us to read all the resources.
In the routeUrl() method, inside the router.js file, add the below case to the switch there, just above the 'default' case:
   case "/resources":
      if (validateMethod(req, "GET")) {
        const resData = readDB();
        return res.end(resData);
      } else {
        res.statusCode = 405;
        return res.end("METHOD NOT ALLOWED");
      }
So we are allowing the /resources url to be hit with a GET request and we are returning some data from it. The data is being returned through the readDB() method call, which we don't have yet. For now, add the below line at the top of the router.js file:
Now we can read resources, let's make it so that we can add resources too. First we will set the /resources endpoint so it can accept POST requests too.
Add the below case to the routeMethod() method from the router.js file, just above the default case:
    case "POST":
      this.routeUrl(url, req, res);
      break;
Next, replace the log it in the else {} block for the /resources endpoint with the below:
   else {
        grabPayload(req, res);
      }
      break;
We are no longer setting a 405 statusCode and sending a 'Method not allowed' response. Instead, we are calling a grabPayload method.
This method will belong to a new module called securityHelper. Import it up top in the router.js file by adding the below line:
In the securityHelper we are grabbing the payload (so we are reading the data submitted via the POST request), we are validating it, and if everything's good, we are asigning it a new ID by calling the getId() method and then saving it to our 'database' by calling the add method which is imported at the top of the file and is part of the resourceController.
Replace the contents of resourceController with the below:
Now, we can create new resources, and thanks to the validatePayload() method, we are only storing the name and color properties. Any other properties that might be sent will be stripped away. Let's test our new endpoint by running the below from a terminal:
The command above, will add a new resource with only the 'color' and 'name' properties (and strip the additional one), to the db.json file. The server response to that will be a statusCode of 200 and the 'resource added successfully ^__^!' string.
*Note that if you try running the command a second time, you will get a 400 'Duplicate Entry' response from our server. Also, regarging validation, remember that we are only practicing the basics here. So for instance, we are not validating data types at all. This means that running a command such as the one below, will work and create a new resource:
However, given the current setup of our project, I bet you can easily see how simple it would be to implement that, for instance by changing the validatePayload method from the securityHelper to the below:
*note how I also limited the lenght of the payload to be sent.
So we can create and read data from our API. Let's make it so that a GET request to /resources/:id will get us only the resource with the respective id. We will use this setup to implement 'update' and 'delete' endpoints too.
In the router.js file, in the routerUrl() method we need to change the 'default' case for the switch statement. Change it to the below:
 default:
        const resourceId = req.url.split("/")[2];
        if (resourceId && !req.url.split("/")[3]) {
          if (validateMethod(req, "GET")) {
            const resource = findResource(resourceId);
            if (resource) {
              res.statusCode = 200;
              return res.end(JSON.stringify(resource));
            }
            res.statusCode = 404;
            return res.end(`No resource found for ID: ${resourceId}`);
          } else if (validateMethod(req, "POST")) {
            grabPayload(req, res);
          }
          return;
        }

        if (validateMethod(req, "GET")) {
          res.statusCode = 404;
          return res.end("Page Not Found X_X");
        } else {
          res.statusCode = 405;
          return res.end("Method not allowed X_X");
        }
Next we need to implement the findResource() method in the resourceController. Here it is:
*Note that the id must be real so copy one of the resources you currently have in the db.json file.
Now we can easily implement the update endpoint. First we will set it up so that it can accept POST requests on the /resources/:id endpoint. After that, we will allow updates via the PUT method too.
We need to implement an update() method in the resourceController. Copy paste it from below:
update(payload, req, res) {
    let crtResources = JSON.parse(resource.readDB()).resources;
    const parsed = JSON.parse(payload);
    const idToUpdate = req.url.split("/")[2];
    let updateSuccess = false;

    crtResources.map((i) => {
      if (i.id === idToUpdate) {
        i.name = parsed.name;
        i.color = parsed.color;
        updateSuccess = true;
      }
    });

    const dataToWrite = JSON.stringify({ resources: crtResources });
    fs.writeFileSync("db.json", dataToWrite);

    if (updateSuccess) {
      return res.end(
        `Resource with id: ${idToUpdate} updated successfully.. using the ${req.method} http method`
      );
    } else {
      res.statusCode = 400;
      return res.end(
        `Resource with id: ${idToUpdate} could not be found X___X`
      );
    }
  }
Next, add the update method in the corresponding import in securityHelper.js (that's the import for the resourceController.js):
*remember that the id must be real so replace it with one of yours (otherwise you will get a 400 statusCode).
*also notice that our validation is still in place and we cannot send bad data types so a command such as the one below will not work and will throw the 400 error:
In order to allow the PUT method, you only need to add an additional case for it in the router.js file in the routeMethod() method:
    case "PUT":
        this.routeUrl(url, req, res);
        break;
Add the case right above the default one.
Finally, in the router.js switch statement, in the default case, you need an extra else if(){} statement:
  else if (validateMethod(req, "PUT")) {
        grabPayload(req, res);
      }
Now you can send the command with PUT from above again and it will work.
For better readability, modify the res.end() call in the update() method to the below:
return res.end(
  `Resource with id: ${idToUpdate} updated successfully.. using the ${req.method} http method`
);
Now you can also see the method used to update a resource ('PUT' or 'POST') in the server response.
Finally, let's implement two DELETE endpoints. One will be /resources/:id to delete individual resources, and the second one will be only /resources to delete all resources. First, let's enable the DELETE method in the router.js file in the routeMethod() method. Do that by adding one more case above the default one:
  case "DELETE":
        this.routeUrl(url, req, res);
        break;
Next, in the resourceController.js add a deleteEntry() method. Paste it there from below:
We have now implemented full CRUD functionality for our REST API and we have some good security built into it. You have also learned how to structure code in modules and make them work together. Thanks for sticking so far. In the next article we will re-build this API using Express.
Thanks for sticking with me till now. If you want to see the Code for the project please do that. Run the project locally and play more with it if you need to in order to better understand it.